Last year, my
mum and I made these gorgeous cookie jars for the teachers and they were just fantastic.
So naturally, I couldn't finish up daycare with just any old gift...so I started to Google and discovered this really cute idea. Pot plants, with chalkboard paint. Super excited with the idea, Muffin and I made our way to Bunnings for supplies.
Making our
way to the nursery area, I was pleased to find some beautiful, yet colourful
flowers that would be perfect for this gift for only $7 a pot.
Rounding the
corner, I found just the right size terracotta pots for only $1.49 each!! Sweet.
The paint
section however, was not so easy.
According to
the paint specialists at Bunnings, you can't just paint on terracotta ...I'm not
sure I believe them but whatever.
As a result of this new found information (not that my memory bank was very full with painting or terracotta info in general...), I also had to buy this pot sealer spray stuff as well as the paints. Which is blue. And leaked all over my passenger seat on the drive home! *facepalm*
As a result of this new found information (not that my memory bank was very full with painting or terracotta info in general...), I also had to buy this pot sealer spray stuff as well as the paints. Which is blue. And leaked all over my passenger seat on the drive home! *facepalm*
Reading the
instructions once home, it said to spray two coats, leaving 4 hours between
coats, then leave to dry properly for 48 hours!! There goes my
idea of painting all day. Although in hindsight, I see that this was not a 1 day
job!
Anyway, I did
as instructed and then a few days later, I was ready to paint them.
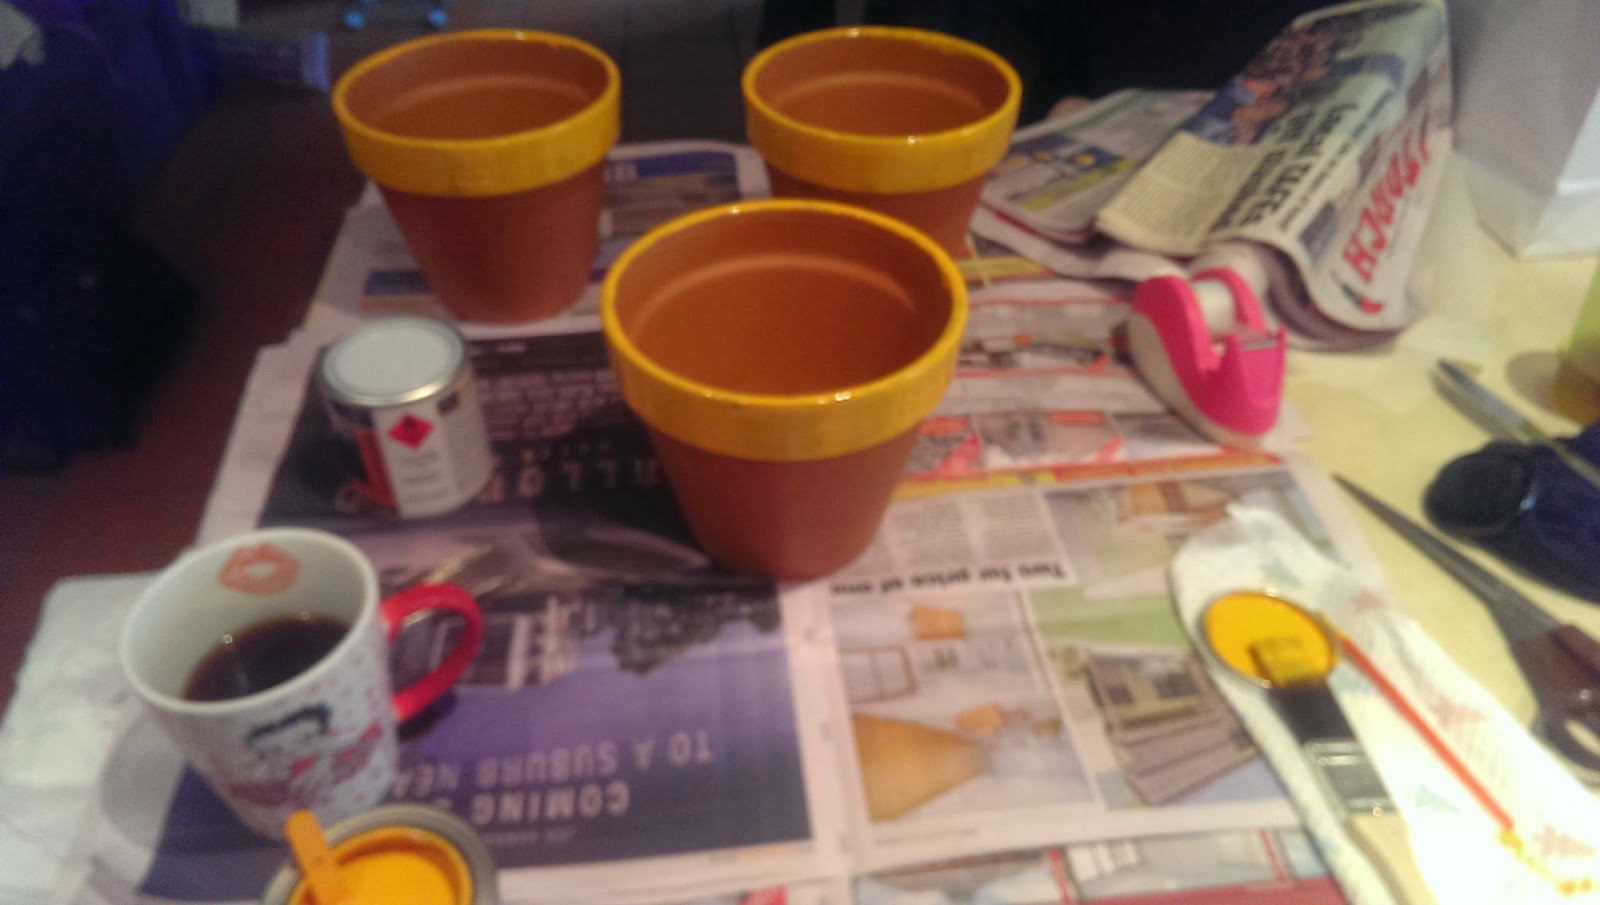
I started
with the rims first but then had no idea what to do next or how to
paint the black part without touching the already painted bits.
Needless to
say, I figured out a solution by using an old plastic cup for assistance.
With my first
coat done, I then had to wait another 16 hours before I could apply the second
coat.
The yellow
didn’t look quite as yellow as I'd hoped it would be but knew that should
change once dry after the second coat.
So day two of my crafty gift making expedition saw the pots were dry and ready for their second coat of paint.
So day two of my crafty gift making expedition saw the pots were dry and ready for their second coat of paint.
Now in all my
wisdom whilst at Bunnings on the weekend, I just assumed my dad would have
turps in his garage for cleaning my brushes. So when I text him and asked
"where can I find turps?"
You can just imagine my delight when he replied "Bunnings". Thanks dad. *facepalm*
You can just imagine my delight when he replied "Bunnings". Thanks dad. *facepalm*
Suffice to
say - I just went to woolies and bought another 2 paint brushes...
The woolies
ones were not quite as good as the Bunnings ones. If you're going to do this, I
recommend stocking up on your paint brush supply in the first instance...or at
the very least, buy turps!
Awesome Bunnings Brushes!
Awesome Bunnings Brushes!

Shit Brushes from Woolies
Anyway, as a
result of these poor quality paint brushes, they made teeny, tiny little air
bubbles as the paint was being applied. I was hoping it wouldn't be too much of
a big deal for the finished product.
It doesn’t seem to have been an issue.
It doesn’t seem to have been an issue.
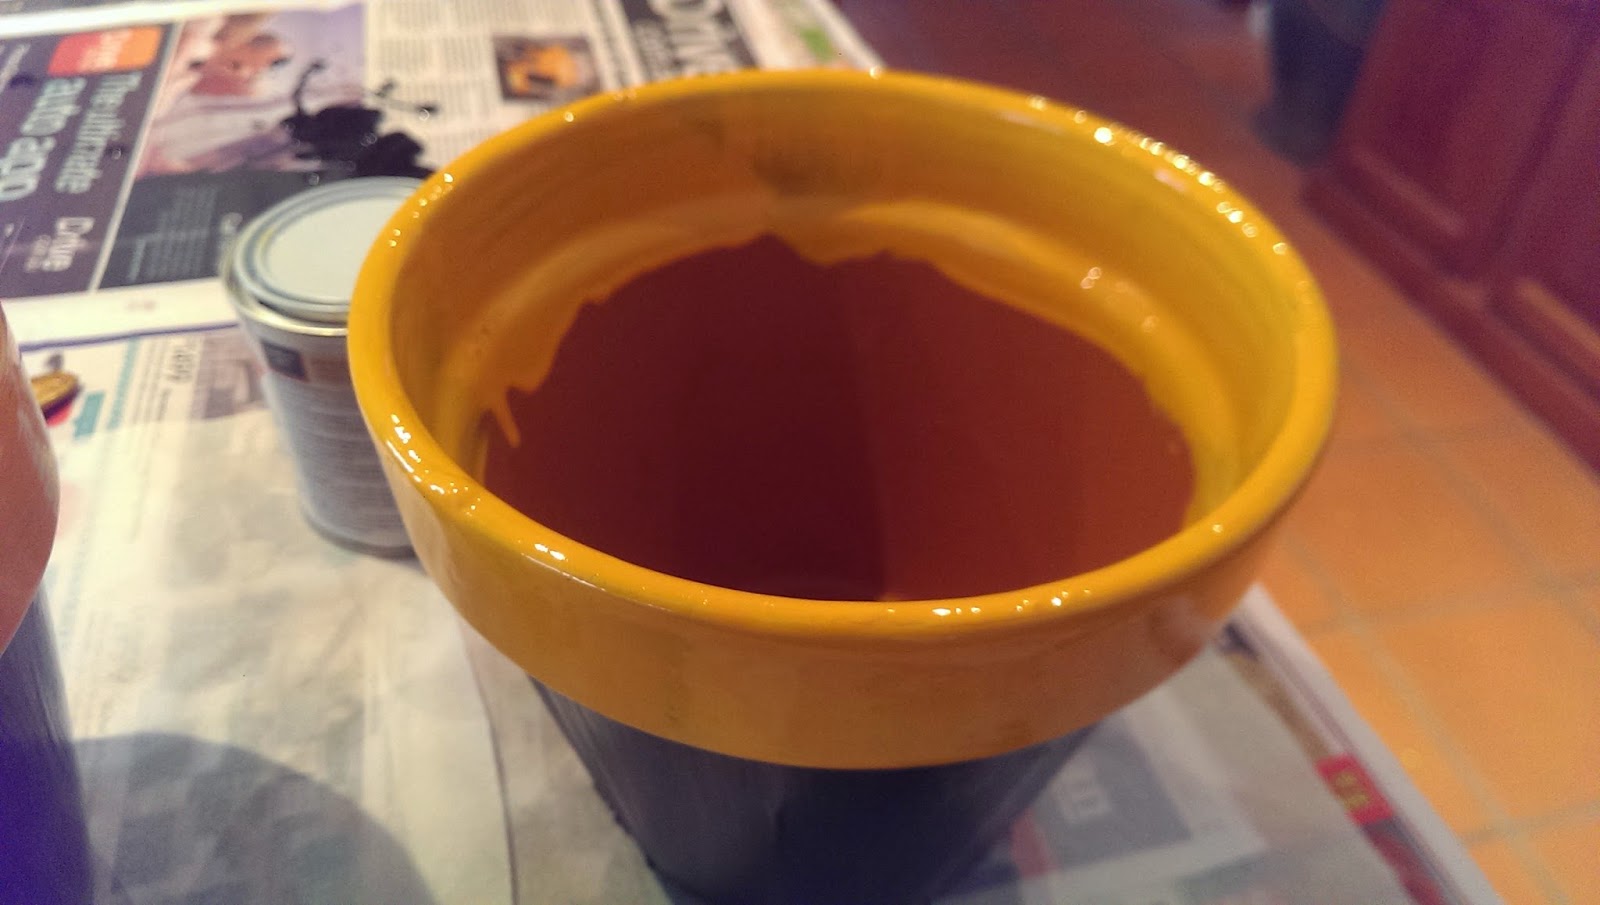
I also
spontaneously decided to paint the inside rim of the pots. 2 coats, one after
the other. Wet paint on wet paint.
It looked a bit messy at the time but I figured, once the flowers are in, it will add a radiant glow to them (or something to that effect).
It looked a bit messy at the time but I figured, once the flowers are in, it will add a radiant glow to them (or something to that effect).
Off to dry for another 16 hours....
Two days
passed and the time to start drawing the ruler effect was nigh.
I was nervous
about this part, I have terrible handwriting and even contemplated hosting “handwriting
auditions” and paying someone to do it for me, but I bit the bullet and did it
anyway and I think it’s turned out alright.
 To get the
measurement right, I taped my tape measure around the rim as a guide to keep it
fairly even.
The tricky part
was writing the message – it was harder with chalk than using a pen but I guess
it doesn't have to be perfect.

This afternoon, Muffin and I made the short trip back to Bunnings for the last of the supplies – the flowers.
To say I have a green thumb would be an absolute, total, untruth. I’m about
as handy in a garden as a gnome...And even then, the garden gnome would have
the upper hand!
Swiftly and smoothly, I easily managed the plants free, one by one, plopping them (quite literally) into their new homes.We found some cute “Hand Made With Love” Christmas gift tags at the store for Muffin to write on before attaching to the flower label.
And voila – just like that, my chalkboard flower pot gifts are complete and
ready for dispatch tomorrow. I’ve got them soaking in a few mils of water to
keep them from drying out (as per the label) and will transport them to daycare
in the morning.Swiftly and smoothly, I easily managed the plants free, one by one, plopping them (quite literally) into their new homes.We found some cute “Hand Made With Love” Christmas gift tags at the store for Muffin to write on before attaching to the flower label.
I really hope her teachers like them.
(click to enlarge image)
3 Pots, 3 lots of flowers, paint brushes, 250ml tin of black chalkboard paint, 250ml of yellow paint and pot sealer, all up $63.45. Approx $21.15 per gift per person. Worked out nicely.
Merry Christmas and farewell daycare. It’s been a wonderful journey and
while I may not yet be
ready for the next chapter of our lives, it’s happening
whether I like it or not.
Much Love


0 Reader Repsonses:
Post a Comment